
“Smoke Signal” Smoked Rye IPA Recipe: The Ultimate Fall Beer
Fall is my favorite time of year. I love the cool, damp air after a hot summer, and there aren’t many things that feel as good as putting on that first hoodie of the season. It’s not quite stout season, but a Kölsch doesn’t feel quite right sitting around a campfire either. So, what’s the perfect beer for the transition from late summer to those first wonderful nights of fall? In my opinion, you can’t do much better than a smoked IPA.
If you want to immediately divide the homebrewing community into two groups that strongly oppose each other, there are a few specific styles and brewing ingredients that will do so immediately. Sure, we can argue all day about hazy IPAs, fruited sours, and other trendy beers in 2020, but today I want to talk about a style that has been around for almost as long as beer itself. And yet, despite its long tradition of being used in brewing, still has not gained widespread popularity as a modern style.
While we think of smoked beer as something very specific now, until the modern kiln was invented, all grain was dried over an open fire which imparted a smoky flavor to beer, even when it was considered undesirable for the style. Then again, consumers may not have been quite so picky a couple of thousands of years ago. While some variations of smoked beers, whether they are traditional styles like Rauchbier or smoked versions of common styles like porters, are still fairly common, smoked beer is not nearly as common as it once was.
The more smoked beer I have the opportunity to try, the more obsessed I’m finding myself becoming with them. So, here is our new “Smoke Signal” Smoked IPA, the first of several smoked beers I’m planning to brew in the near future!
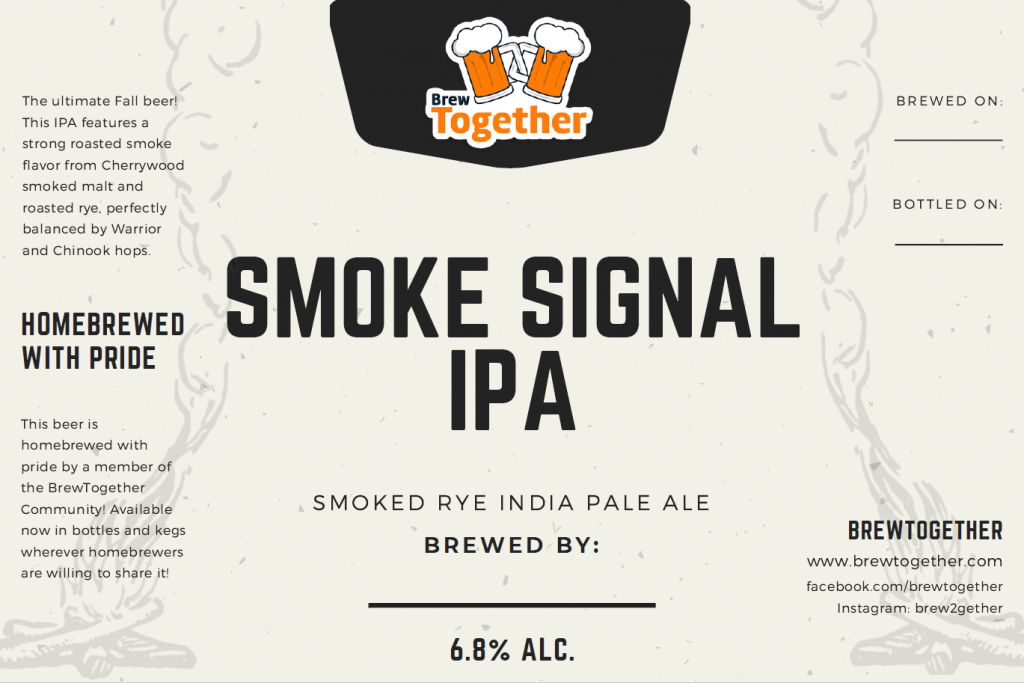
This beer turned out way better than I expected and we decided to make it one of our main recipes. We put together an Instagram contest and let people vote for the best name that anyone came up with. Shout out to my friends at BrewRV for coming up with the winning name, “Smoke Signal” Smoked IPA!
Smoked IPA Recipe Approach
My goal was to create a beer with a darker, slightly sweet and smoky complexity, while maintaining a complimenting hop bitterness, flavor, and aroma that kept this beer close enough to IPA territory that I wouldn’t mind having one on a warm night if summer fought back against fall. I went with a standard 2-row base malt, and added Cherrywood smoked malt to make up about 15% of the total grain bill. I added a ½ pound of roasted rye to add some deeper bready, coffee notes that fill out the smoke flavor of the smoked malt. I think the roasted rye really made the difference in this beer. I also added a 1/2 lb of Honey Malt, which added a nice sweetness that helped balance the overall beer.
One other thing worth mentioning on this is that this was the first time I tried using Viking Malts, which are available on MoreBeer and are a good bit cheaper than other malt brands, and I was very happy with them. I do not have any complaints about any of their malts that I ordered, and I plan on brewing with more of them in the future. If you’re not sure if it’s worth trying, I can definitely say I recommend giving it a shot.
I went with Warrior and Chinook hops because I felt that they would add the IPA bitterness and flavor I wanted without completely overtaking the malt, which was intended to be the shining star of this beer. I think that this hop combination worked well for that purpose.
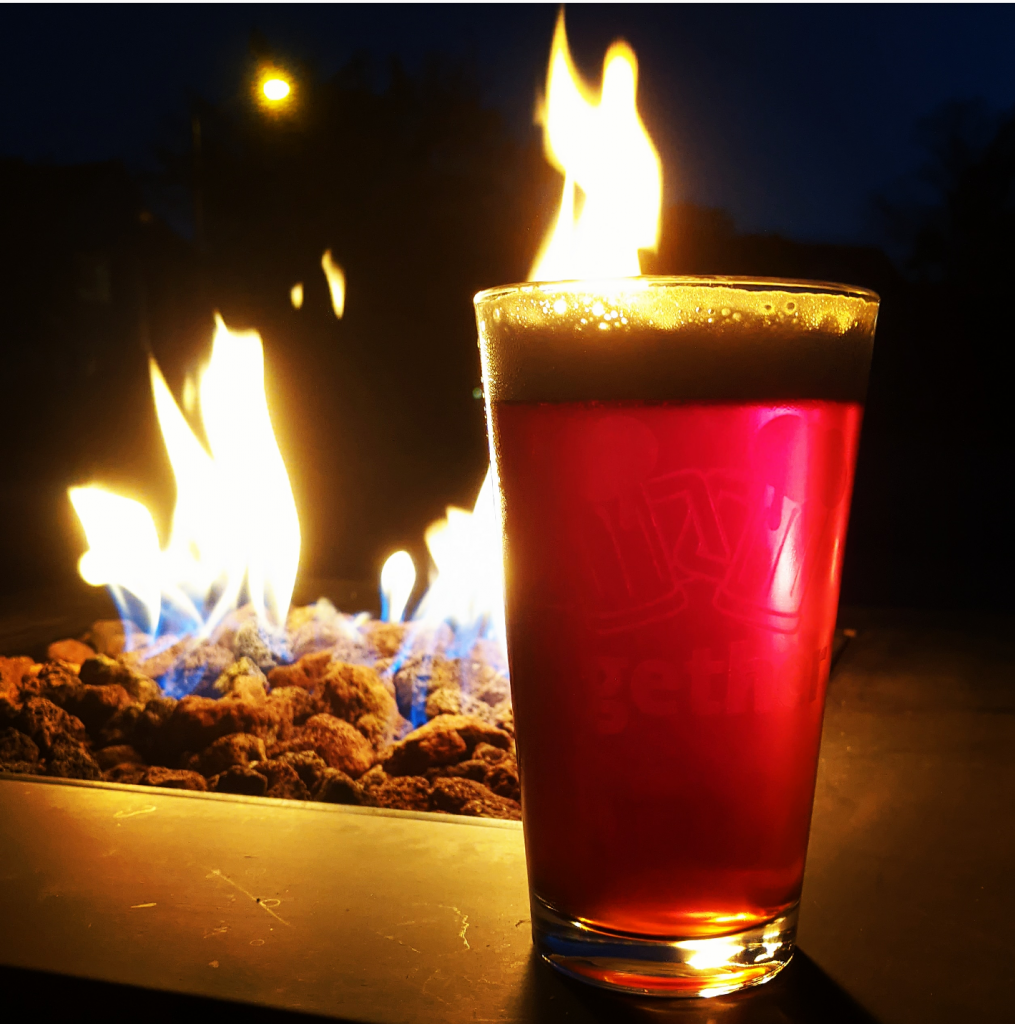
While I will likely continue to tweak this Smoked IPA recipe over time, the pint I had last night sitting by a fire convinced me that it was too good not to share. If you brew it, please let me know how it turns out! If you make any tweaks to the recipe that you think improve it, I’d love to hear that also! Leave a comment below, or post in the forums!
“Smoke Signal” Smoked IPA Recipe
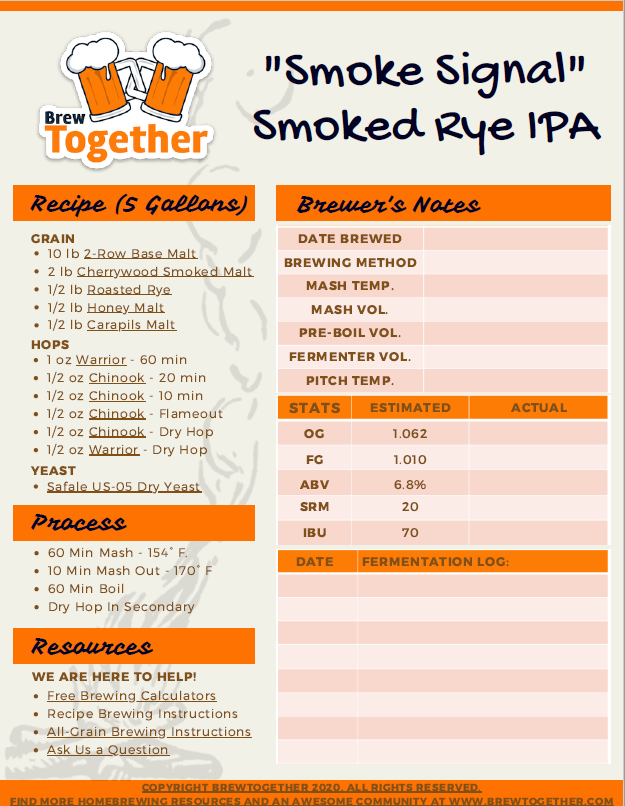
Grain Bill:
- 10 lb 2-Row Base Malt
- 2 lb Cherrywood Smoked Malt
- 1/2 lb Roasted Rye
- 1/2 lb Honey Malt
- 1/2 lb Carapils Malt
Hop Schedule:
- 1 oz Warrior at 60
- 1/2 oz Chinook at 20
- 1/2 oz Chinook at 10
- 1/2 oz Chinook at Flameout
- 1/2 oz Chinook at Dry Hop
- 1/2 oz Warrior at Dry Hop
Yeast:
I used Safale US-05 Dry Yeast because I had some on hand and it’s still often my go-to yeast for pale ales and IPAs. It worked perfectly well, but I’d be interested to hear any other yeast recommendations you have!
Brewing Process:
New to all-grain brewing? It’s easier than you think! Check out our simple step-by-step guide to all-grain brewing!
The night before you’re planning to brew, treat all water with campden tablets at the rate of ¼ tablet per 5 gallons to remove chlorine and chloramines. Leave the water uncovered overnight to allow the chemicals in the water to dissipate. Other salts or mineral scan also be added now if desired. To make life easier for myself, I installed a water filter in my kitchen to filter my brewing water.
1: First, if you ordered your grain unmilled, gather your ingredients and mill your grain at your standard crush for your system. Don’t have a grain mill but are interested in getting one? Check out our guide to the best grain mills for homebrewing.
2: Once you have your grain milled, mash for 60 minutes with all of the grain and about 4 gallons of treated water for a desired mash temperature of 154 degrees. Assuming your grain is room temperature, your water should be 167-168 degrees. Check out our free brewing calculators to determine your water volumes and temperatures.
If you’re using an Electric All-In-One System, use the instructions that came with your system to determine the strike water temperature.
3: After your 60-minute mash, mash out at 170 degrees for 10 minutes. You should need about 2.5 – 2.75 gallons of boiling water to achieve 170 degrees. If you’re using an Electric All-In-One System, you can simply raise the temperature to 170 and hold for 10 minutes.
4: Assuming you don’t have a recirculating mash, you’ll need to do some vorlaufing to establish a solid grain bed to filter your wort. Check out our simple step-by-step guide to all-grain brewing for more information on vorlaufing.
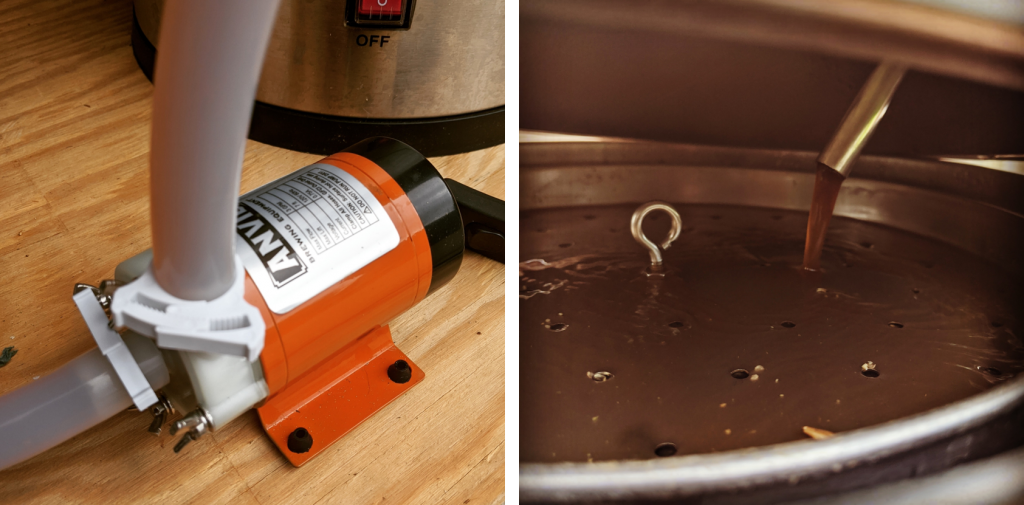
If you have an Electric All-In-One System with a recirculating pump like the Anvil Foundry that we use, you don’t need to vorlauf because you have been able to filter the wort by recirculating it through the grain bed during the mash. This is one of my favorite features of an All-In-One System. Interested? Check out our comparison of the Best Electric All-In-One Systems here!
5: Sparge to achieve your pre-boil volume (usually about 6.5 gallons on my system) with about 2.65 gallons of water at 168-170 degrees. If you’re using a Electric All-In-One System, you’ll likely have a sparge option and a no-sparge option. I like to sparge because it increases efficiency and doesn’t add a lot of stress or challenge to brew day.
6: Boil for 60 minutes with the following additions:
- 1 oz Warrior at 60
- 1/2 oz Chinook at 20
- 1/2 oz Chinook at 10
- 1/2 oz Chinook at Flameout
- 1/2 oz Chinook and 1/2 oz Warrior at Dry Hop
7: Finally, cool, transfer to fermenter, and pitch yeast. I used a Catalyst Fermentation System from Craft-a-Brew. It’s easy to clean and makes no-transfer secondary fermentation a breeze. I am a fan of the Catalyst and recommend it!
8: Primary fermentation for 1 week to 10 days.
9: Secondary fermentation for 1 – 2 weeks. This is optional – you can also leave in primary for an extra week or two if not doing secondary, the benefits of which are questionable on a homebrew level. When you are sure fermentation has completed, wait another week and then take a gravity reading to make sure that it’s finished. My last batch finished at 1.009.
10: Cold crash the beer and prepare to keg or bottle. You can download and print our Smoke Signal IPA Bottle Labels and add your information. Tag us on Facebook (BrewTogether) and Instagram (brew2gether) if you brew this! We can’t wait to hear how it turns out!
This beer will improve steadily over about a month. The smoke is a bit harsh at first, but after a few weeks the flavors mellow and blend together.
Enjoy! If you brew this Smoked IPA recipe, leave us a comment below or post in the forums on how it turned out! Do you have recommendations on changes we should make to this Smoked IPA recipe? We want to hear about that too! Join the discussion now!
Thanks for Reading!
Thank you for reading! If you like this Smoked IPA recipe, it would mean the world to us if you would share it with your friends using the social media share buttons below.


Have you tweaked this recipe at all? Im intrigued and thinking of giving it a go.
I definitely recommend It! I personally love this recipe as-is, but if you’re not a huge fan of smoked malts you may want to reduce the smoked malt down to 1lb and up the base malt by 1. Let us know how it turns out if you brew it!