
How to Acquire, Grow, and Harvest Your Own Homegrown Hops

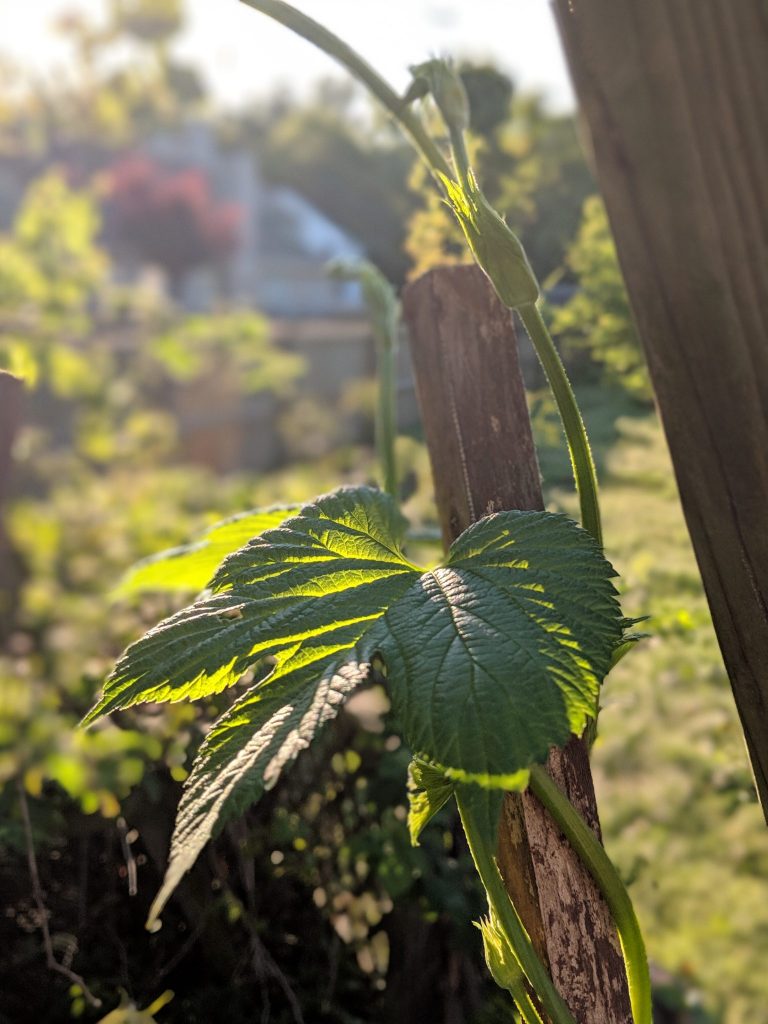
Using your own homegrown hops is an incredibly rewarding process that adds another level of pride and self-sufficiency to your homebrew. Hops are very easy to grow and produce an attractive, fast-growing plant. During their peak growing season, the vines (called “bines”) can grow over a foot per day in all directions searching for something to climb. They’re excellent climbers and will take over any lattice, pergola, or other climbable surface. Growing hops requires very little equipment and costs almost nothing. If you’re not sure what type of hops you would want to grow, check out our article describing the flavors and aromas of the most common hop varietals.
Acquiring Hop Rhizomes
While hops can technically be grown from seed or bine cuttings, the easiest and most common way to get started growing hops is with a rhizome cutting. A rhizome is “a continuously growing horizontal underground stem which puts out lateral shoots and adventitious roots at intervals.” Essentially, the rhizome is the portion of the hop plant that survives year after year while the visible portion of the plant (the bines, leaves, and flowers) grow and die back every year. Mature hop plants can have portions of the rhizome cut off and the removed portion can be planted separately to create a new hop plant.
Hop rhizomes are fairly easy to acquire. They’re available at many local homebrew shops (LHBS), online homebrewing retailers, and even on Amazon. Before you buy them, though, see if you know anyone who has mature hop plants. My homegrown Cascade came from cuttings from a friend’s Cascade crop. See the Propagation section of this article for information on harvesting rhizomes. Your friends may be happy to trade you some rhizomes for a beer or two!
Growing Area Preparation
Hops grow best in moist, neutral soil and require at least 6-8 hours of sun per day. Ensure your growing area is easy to water and gets plenty of sun. Because hops grow on a climbing vine, the only other requirement is something for them to climb. Hops do very well climbing fences, trellis, or pergolas. While hops can grow over 25 feet, most growers find that between 10 and 18 feet is the perfect length. I personally have mine grow up a lattice trellis next to my Muscadine grapes and blackberries, but many homebrewers attach strong lengths of twine up one side of their house and allow the hops to climb. Ensure that whatever you choose for them to climb is quite strong. An 18-20 foot bine can weigh over 20 pounds!
Planting Rhizomes
Rhizomes should be planted in the early spring after the final frost has passed and the soil begins to warm. Once you have acquired your rhizomes, immediately plant the rhizome in 2-4 inches of moist soil. The rhizome should begin to root and send out small shoots within about a week. Once the shoots are a few inches tall you can train them to climb by moving the bines closer to whatever you have designated for them to climb in your growing area each day. Once they begin to climb they will continue to do so on their own. Avoid letting your hops grow on the ground to reduce the chance of mold or disease ruining your crop.
Growing
Once the hops have been trained to grow, they require very little maintenance. If you find that there are too many bines competing for space, remove the weaker ones at ground level to allow the strongest bines to grow better as they will produce the most cones. If you live in a particularly dry area, water your hops every couple of days to make sure they don’t dry out or become stunted. In coastal Virginia, I have very rarely needed to water my homegrown hops, but sometimes do if I’m watering the vegetable garden already.
Harvesting
Homegrown hops are generally harvested in August and September throughout the United States. A common mistake that growers make is harvesting too early. It’s easy to see the beautiful bright green fresh hops and harvest too early, but that can lead to grassy vegetal flavors that are undesirable in your beer.
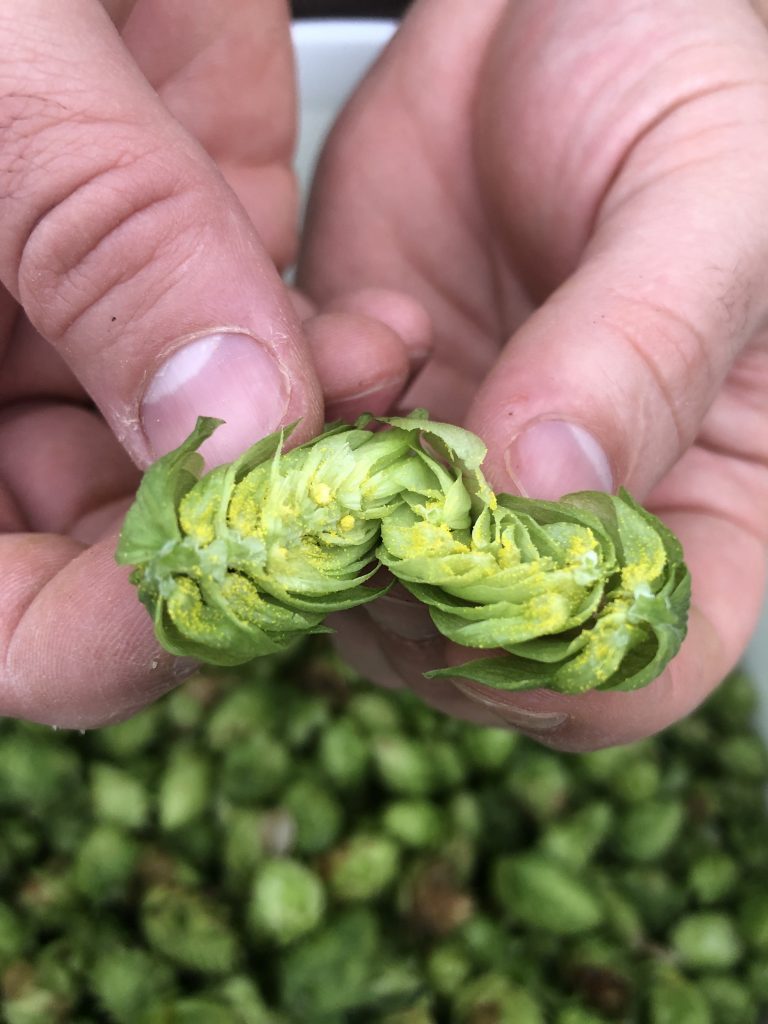
Ideally, you will want to wait until the cones just barely start to brown at the tips. The cones should be dry and have a springy, papery texture. When compressed, they should spring back to their original shape immediately after being released. Once your hops appear to be ready to pick, break a couple of them open. Look for the yellow lupulin powder inside, smell the aroma, and even take a taste. They should be aromatic and bitter, but be cautious if they have any off aromas that could be mold. Some growers have described this as a “cheesy” smell. Any cones with an unpleasant aroma or visible signs of mold or disease should be thrown away.
Once you have determined that the hops are ready to be harvested, you can begin picking the mature cones off of the bines. You may find that you need to harvest a few times over the month or so to allow the younger cones to fully mature while removing the ones that are ready to be harvested.
Brewing with Fresh Hops
For fresh or wet hopped beers, your homegrown hops are ready to be used right off of the bine. Because undried hops are substantially heavier due to their high water content, you will need to use more hops than you would had they been dried. As a rule of thumb, use approximately 4-6 times as many hops as you would if they were dried. For example, if your recipe calls for 1oz of pelletized dry hops, and you want to use your fresh-off-the-bine hops, you would add 4-6oz. Remember, fresh hops can impart different flavors to your beer than dried hops do. They often add a grassy, plant-like flavor that can be desirable in some, but certainly not all, beer styles. Homebrewing is all about experimentation and trying new things, though, so give it a shot!
Drying and Storing Hops
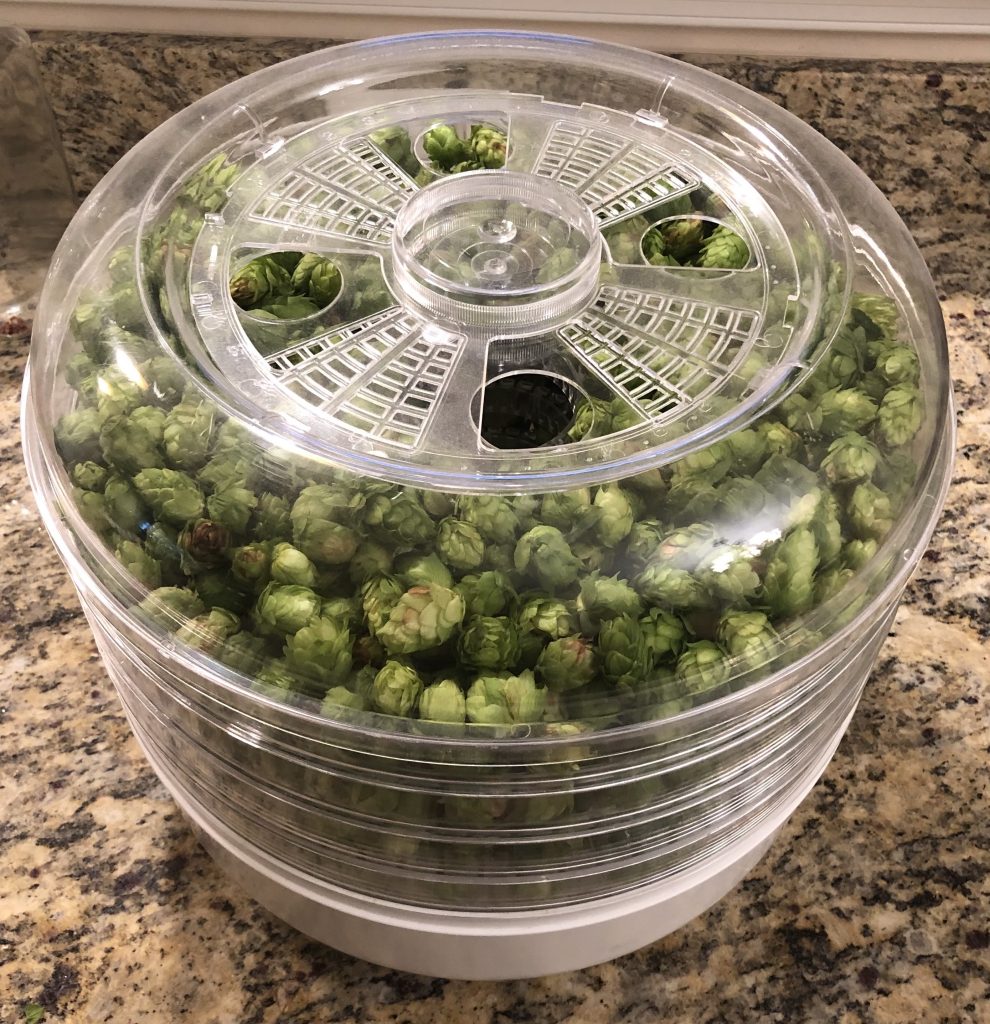
Once you have harvested the hops you will need to dry them as completely as possible prior to storing them. If you already have or are willing to invest in a food dehydrator, they do an excellent job of drying hops quickly. Otherwise, placing the hops in a single layer on a screen and leaving them in the sun or in a dry room with a fan blowing will dry them quickly as well.
Once the hops are dried, store them in airtight ziplock bags with the air pressed out as much as possible. If you have or are willing to invest in a vacuum sealer, your hops will last even longer. Once the bags are sealed, keep your hops in the freezer until you’re ready to use them. Stored properly, your homegrown hops will last between 6 months and a year before you lose too much flavor and aroma. I have used homegrown Cascade after about a year in my Cascade SMaSH and it turned out just fine.
Post-Harvest
You may find that if you do a harvest toward the beginning of August that there is still enough time in the growing season that you are able to harvest more hops in September. At the end of the season when there are no more hops to grow, cut the bines down near the ground and remove the waste. The plants will go dormant over the winter and then new bines will sprout in the spring. If you live in an area with a longer growing season, you may have more harvests. Wait until the bines stop producing cones before cutting them down for the year.
Propagation
After a few years, you will be able to propagate new plants by cutting rhizomes from your current plants. Rhizomes should be harvested in the early spring after the final frost has passed and the soil begins to warm. Using a sharp, sterilized knife, cut 5-7 inches of rhizome off of the current plant and immediately plant the rhizome in 2-4 inches of moist soil. The rhizome should begin to root and send out small shoots within about a week. Once the shoots are a few inches tall you can train them to climb your growing area just like you did with your first plants. Once you have a healthy crop, you should never need to purchase new plants, and can even provide rhizomes to friends that want to grow their own homegrown hops as well.
Thanks for Stopping By!
Do you grow your own hops and have any tips to share? Do you have any questions about growing your own hops for the BrewTogether Community? Leave a comment below or post in the forums!
Thank you for reading! If you like this article, please share it with your friends using the social media share buttons below! We need your help getting the word out about BrewTogether!
If you’re not a member of BrewTogether, we’d love for you to join! BrewTogether is completely free, and signing up is easy! Click here to join! We’d love to have you as a member of the BrewTogether Community!
Now using BrewTogether is easier than ever! Download the FREE BrewTogether Mobile App – available on both the Apple App Store and the Google Play Store! The BrewTogether App is completely free and drastically improves the experience of using BrewTogether on a mobile device.
Affiliate Disclosure: BrewTogether is a participant in the Amazon Services LLC Associates Program, an affiliate advertising program designed to provide a means for us to earn fees by linking to Amazon.com and affiliated sites. BrewTogether is also a participant in an affiliate program with MoreBeer, our favorite online homebrewing equipment/ingredients retailer. Some of the links in this article are affiliate links, which means that if you choose to make a purchase after clicking the link, I will earn a small commission at no additional cost to you. Please feel free to reach out with questions. Thank you for your support!


Great article, thanks for posting it!
Great article. I would love to try growing my own hops, but the only place I would probably get enough sun would be on my deck. Has anybody tried growing them in a container?